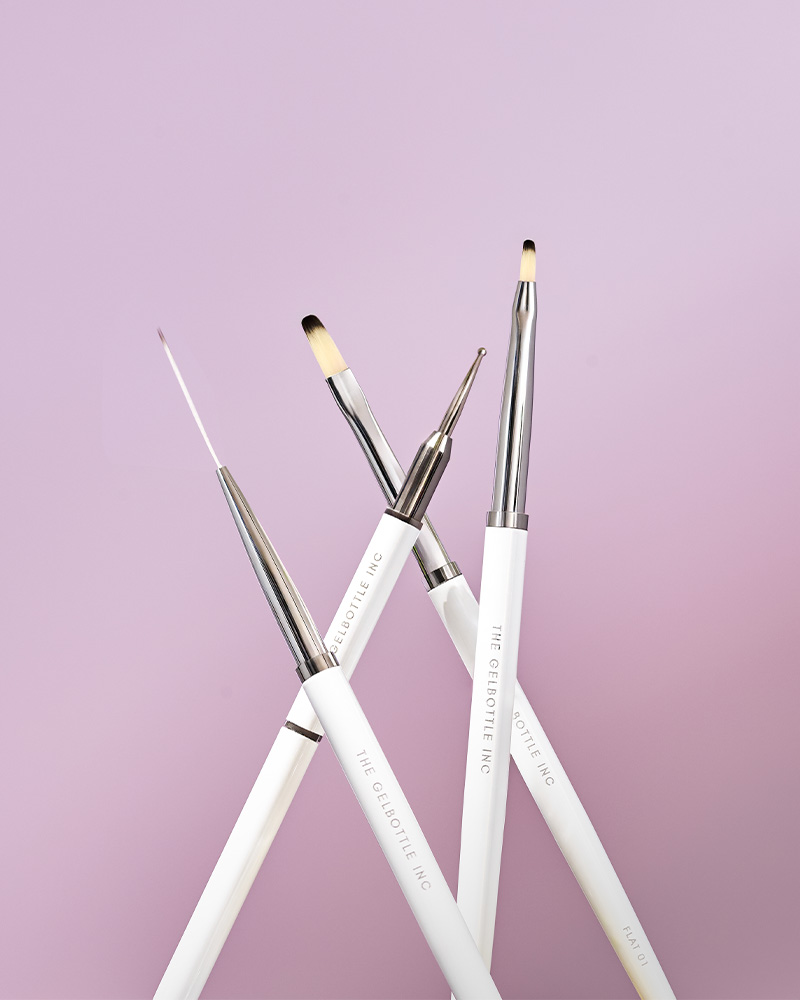
How to Achieve the Perfect Halloween Nail Art with Gel Polish
Want to offer your clients nail art but not sure where to start? Or maybe you love a creative manicure but want some seasonal Halloween nail art inspo, we’ve got you covered this spooky season.
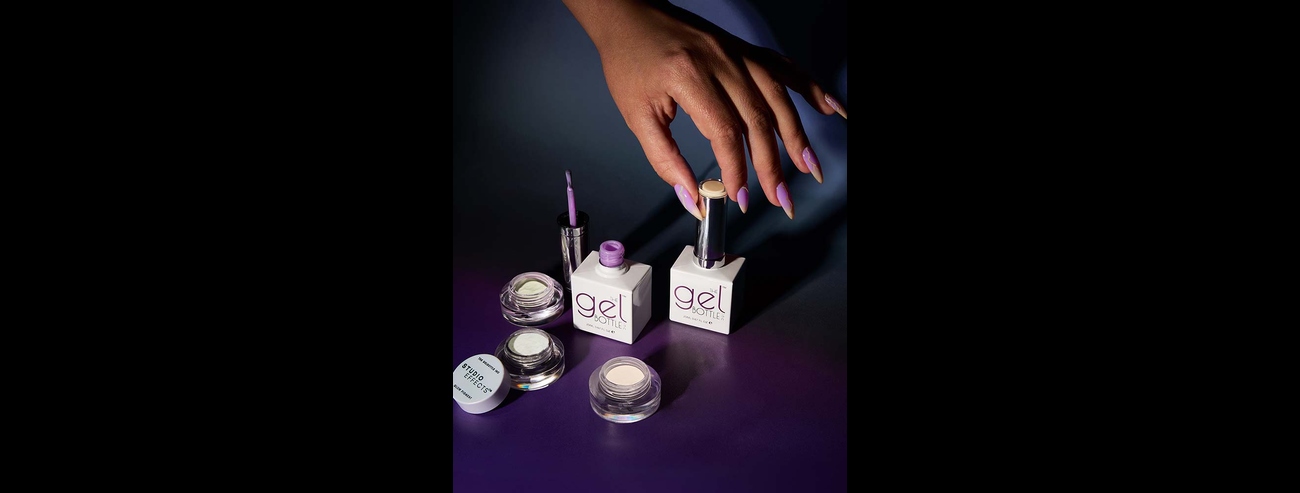
Follow our simple step to getting started with nail art, as well as two trending Halloween mani designs: boo-tiful ghosts and perfect pumpkins, featuring our brand-new glow-in-the-dark shades!
Why Choose Gel Polish for Nail Art?
Gel polish is not only versatile but also perfect for creating intricate nail art. One of the best advantages of using gel is its durability as your designs will last longer than traditional nail polishes. Plus, the vibrant colours and easy application make gel the go-to choice for nail artists looking to unleash their creativity.
What You’ll Need for Nail Art with Gel Polish
Every stunning nail art set begins with the perfect prep and must-have TGB nail essentials!
Here’s our handy list of everything you’ll need:
- TGB SPA™ Hand Towel: Keep your workspace clean and professional.
- Lint-Free Wipes: Perfect for wiping the nail and brushes.
- 220/240 Nail File: For gently shaping natural nails.
- 100/180 Buffer: To smooth the surface for a flawless finish.
- ProNip: Our nail nippers are needed for precise cuticle care.
- ProPrep: Our nail prep tool is essential for pushing back cuticles seamlessly.
- 2-in-1 Base Coat or Rubber Base: Protects the natural nail plate and ensures adhesion.
How to Create Nail Art with Gel Polish: The Basics
Let’s walk through the basics of nail art!
Step 1. Prep Nails
Make sure to clean the nails thoroughly and push back any cuticles. Use ProPrep and ProNip for a polished look. This step ensures the gel adheres well and your design lasts.
Step 2. Apply Your Base Coat
Next, apply a base coat in order to protect the natural nail and helps the gel polish adhere better. Use 2-in-1 Base Coat or if the nail needs some extra protection use Rubber Base. Apply a layer to the nail and make sure to seal the edges, before curing under the TGB Light the way nail lamp for 60 seconds if using 2-in-1 Base Coat (or 99 seconds if you opted for Rubber Base).
Pro Tip: Apply a thin layer of base coat. Too much can lead to peeling!
Your Guide to Halloween Nail Art
To celebrate the launch of TGB’s Halloween collection here are some step-by-step guides to create not one, but two Halloween nail art looks this spooky season.
Look 1
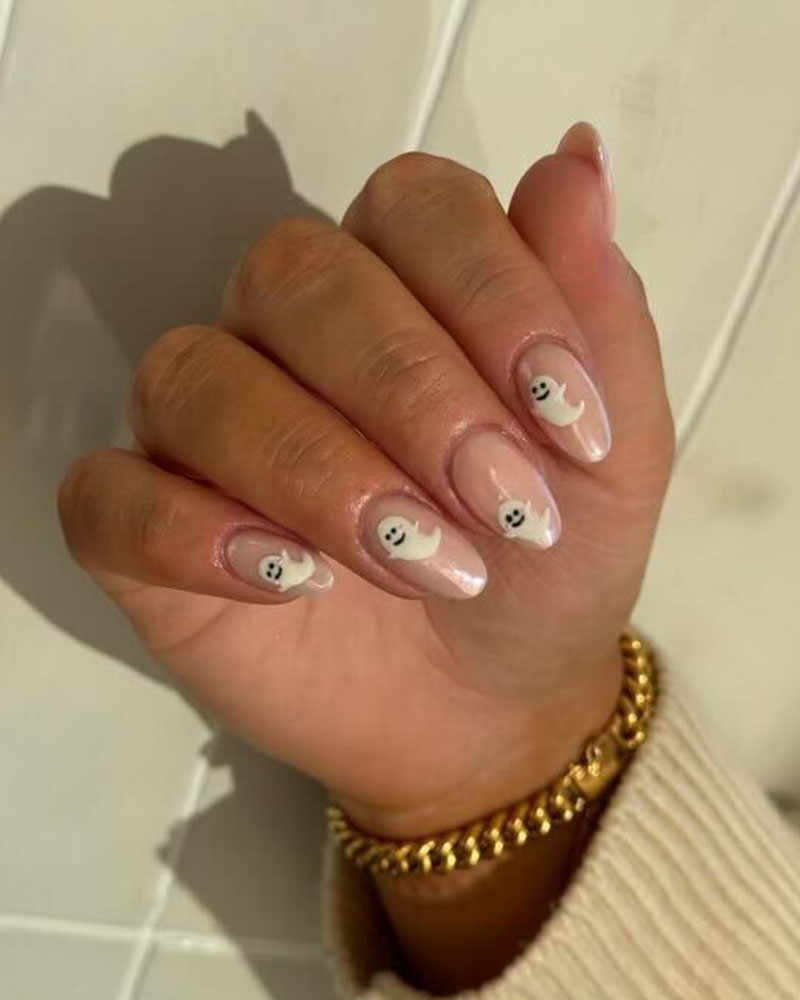
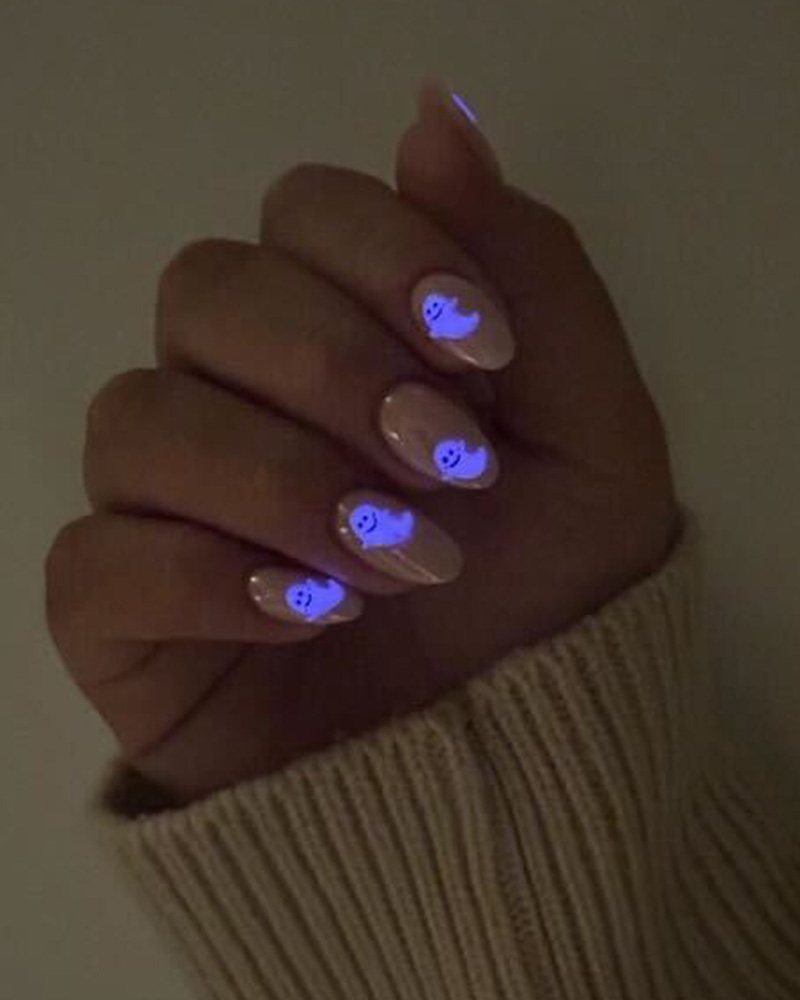
Mini Glow in the Dark Ghost Nails
It’s time to get creative! Learn how to design this gorgeous and ghoulish mani by @nailsbychloed
Remember to take your time and cure the design as you go to ensure it sets perfectly.
WHAT YOU NEED:
Step 1. Apply BIAB™ or two Layers of Gel Polish
Apply your chosen BIAB™ for your canvas. For this look Dolly BIAB™ was used. Make sure to cure in between layers for 99 seconds using the TGB Light The Way Nail Lamp.
Or if you use a nude gel polish, cure for 60 seconds.
Explore The GelBottle's gel colour range and find your perfect nail art base shade.
Step 2. Apply Topcoat
Apply a layer of Extreme Shine Top Coat, and cure for 60 seconds using the TGB Light The Way Nail Lamp.
Step 3. Apply Iced Chrome Pigment
Using a TGB sponge applicator firmly rub the Iced Chrome Pigment into the nail.Remove the excess residue using your Dusting Brush and topcoat with your Extreme Shine Top Coat, curing for 60 seconds.
Step 4. Draw your mini ghosts
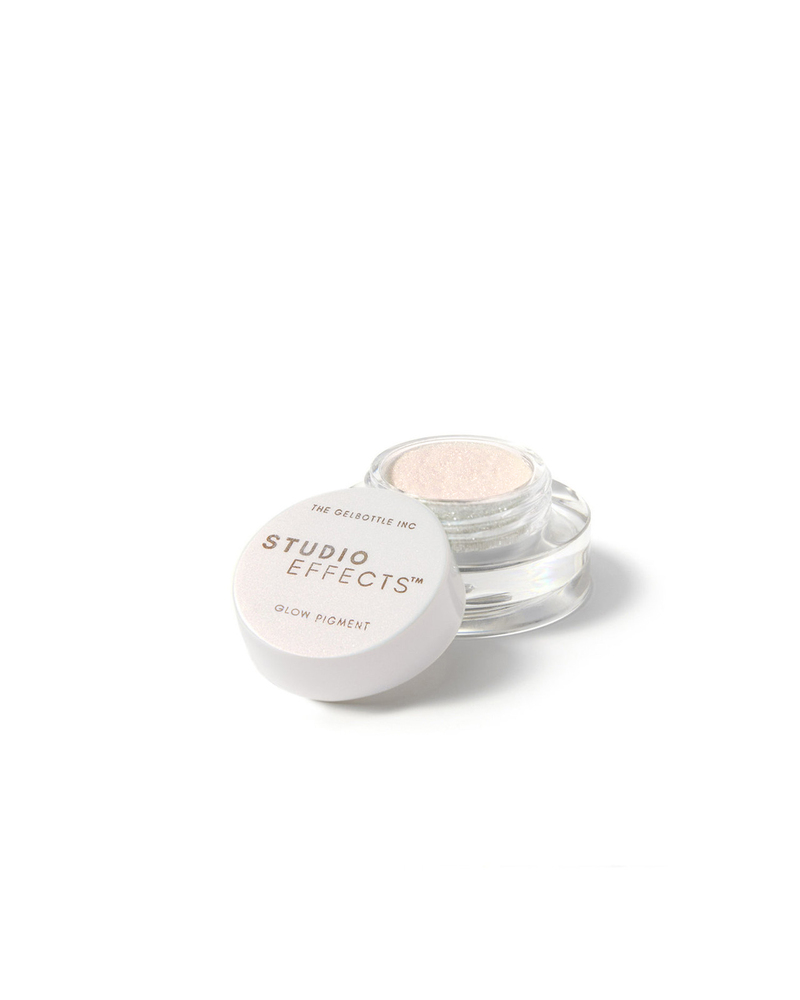
With the use of a TGB Stripe Liner 01 Brush and Daisy Studio Gel™ to create the silhouette of your ghosts and before curing, sprinkle the GlowOrange Pigment over the shapes and cure for the required 60 seconds in your TGB Light The Way Lamp.
Step 5. Add on any extra details
Remove any excess Studio Effects Glow Pigment from the nail using your Dusting Brush then dip your TGB Dotting 01 Brush into the Jet Black Studio Gel™ and apply two small dots to create the eyes of your ghosts.
Use your TGB Stripe Liner 01Brush to draw a smile on the ghost, repeat across all nails and cure for 60 seconds.
Step 6. Apply your finishing touches
After wiping clean your TGB Dotting 01 Brush on a Lint-Free Wipes dip into Carrie’s Cosmo Studio Gel™ and place two small dots onto your design to create cheeks on the ghosts, cure for 60 seconds then use your TGB Extreme Shine Top Coat to finish, curing for a further 60 seconds.
Step 7. Apply Your Top Coat
To finish, apply your Extreme Shine Top Coat to seal in your design and cure for a further 60 seconds to add that glossy finish.
Pro Tip: Make sure to seal the edges again and cure it under the lamp. This step adds durability and shine to your masterpiece!
Look 2
Halloween Pumpkins Step-by-Step
WHAT YOU NEED:
Step 1. Apply your Rubber base
Apply Rubber Base to the nail and cure for 99 seconds in the TGB Light The Way Lamp.
Step 2. Apply gel polish
Using the new TGB glow-in-the-dark gel polish in the shade Trick apply two coats to each nail, curing between each layer for 60 seconds using the TGB Light The Way Lamp.
Step 3. Draw your pumpkin nail art design
Take the TGB Stripe Liner 01 Brush and the JetBlack Studio Gel™ to draw the features of your pumpkin and cure in the TGB Light The Way Lamp for 60 seconds.
Step 4. Apply Top coat
Finish by applying Extreme Shine Top Coat over each nail and cure for a final 60 seconds. Place your clients’ nails in darkness to see your design come to life!
Unleash Your Inner Artist with The GelBottle
Feeling inspired? Knowing how to remove cuticles is just as essential for nail prep. If you want to master this process, consider joining our Perfect Prep Online Workshop at TGB Academy!
We provide everything you need, from cuticle care products to professional nail tools and gel polishes. Explore our gel colour category for more!
Don't forget to check out our Instagram, TikTok, and Blog for more inspiration and tutorials!
