How To Do Ombré Nail Art: A Step-by-Step Guide
Are you ready to elevate your nail game with trending ombré nail designs? Prepare to find out how colour blending can transform your nail art.Whether you’re aiming for a soft pastel transition, a vibrant colour burst or the must try blooming gel ombre, the possibilities are endless.
Whether you're new to ombré or are a seasoned nail artist, this guide will help you perfect the right technique. Follow these simple steps to achieve this autumnal nail design by TGB Brand Ambassador @meraki_nails_cardiff.
What You’ll Need To Do Ombré Nails With Gel
Below you’ll find a carefully curated list of the materials and tools you'll need to create this ombré nail look for every client:
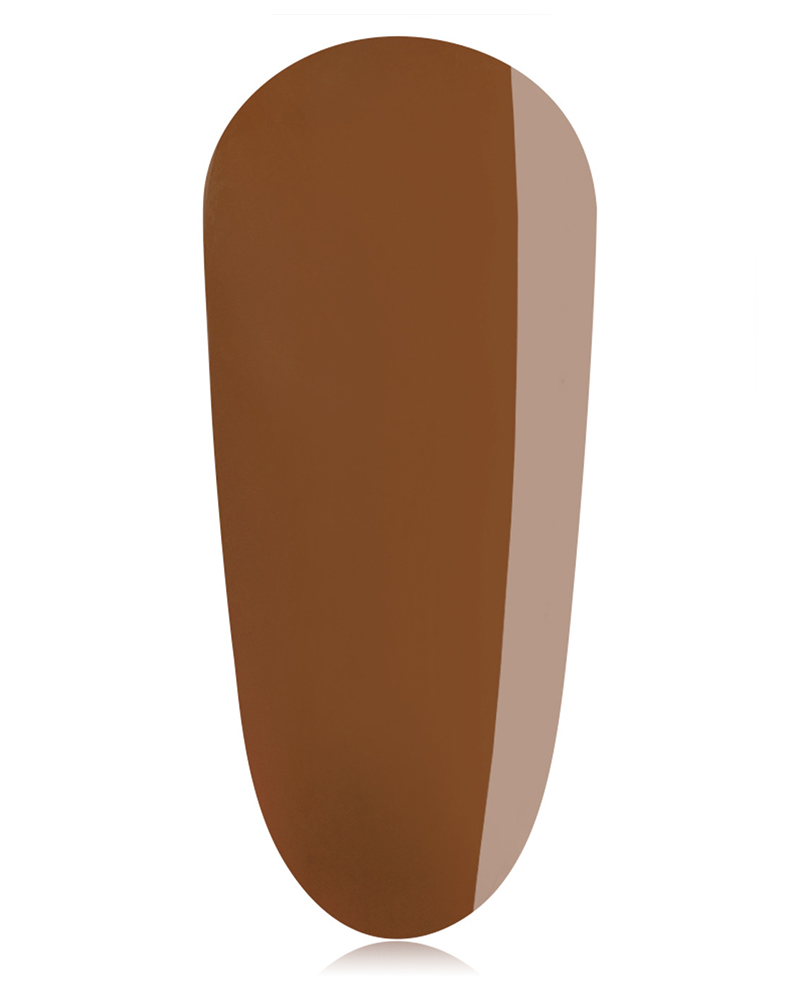
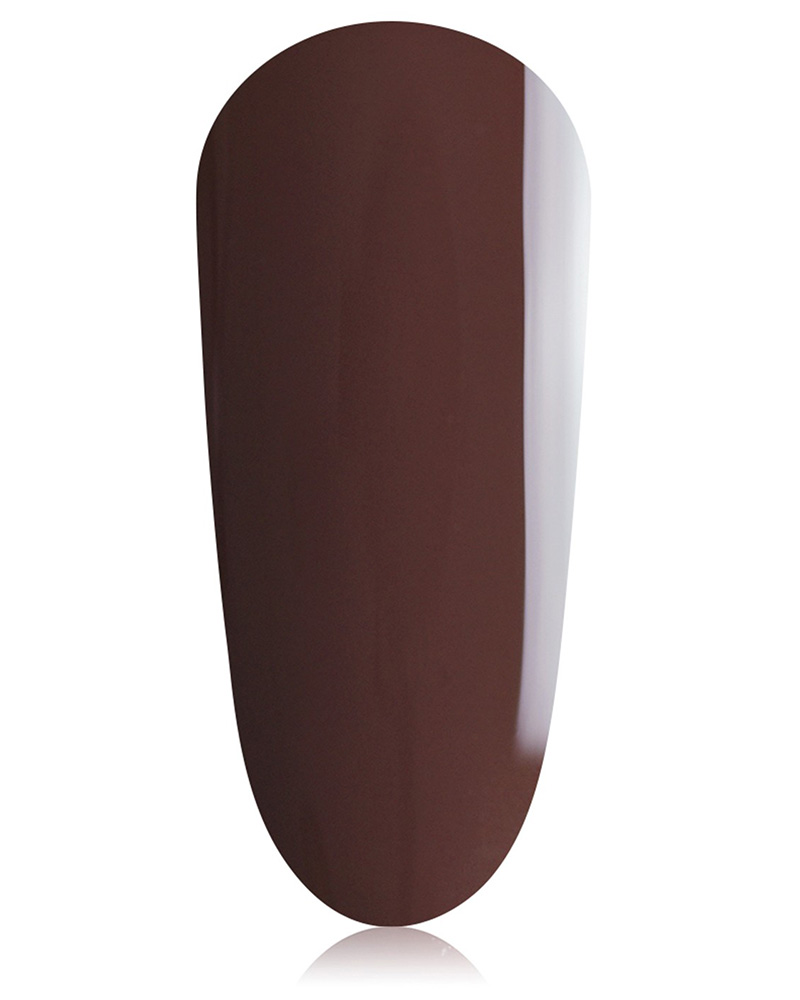
- Chocolate gel polish
- Monogram gel polish
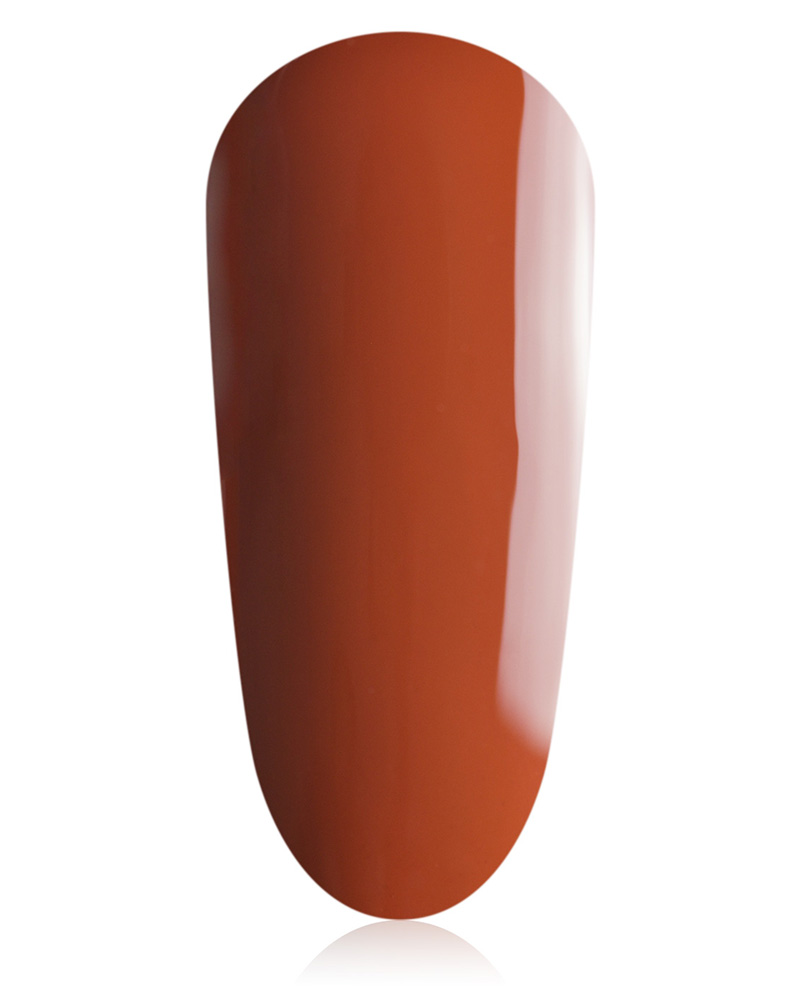
- African Sunset gel polish
Ombré Nails With Gel In 6 Steps
Set yourself up to achieve beautifully blended ombré nails with our six-step process.
Step 1: Prepare The Nails
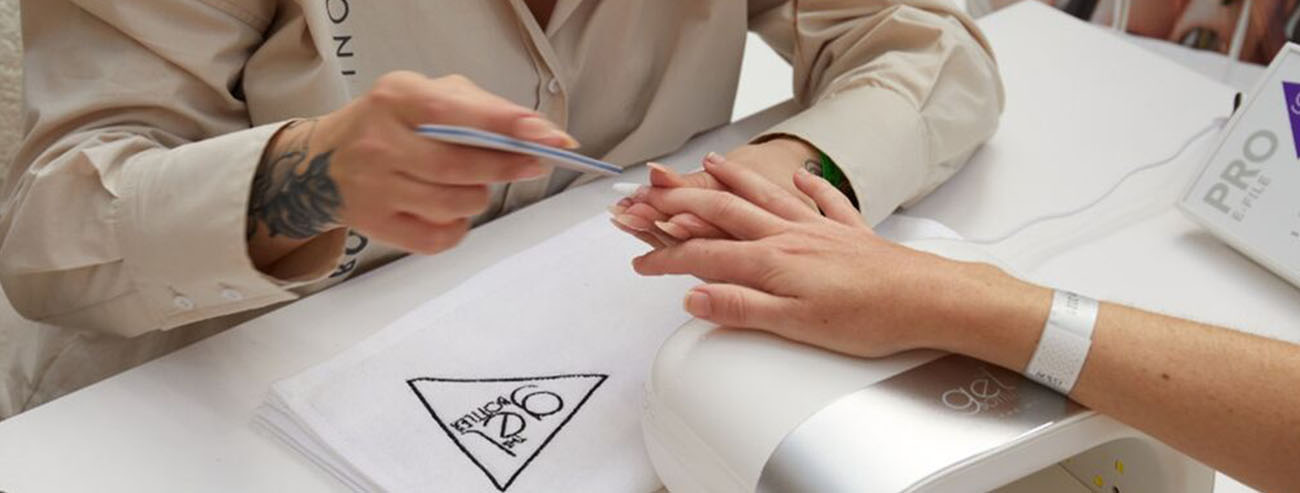
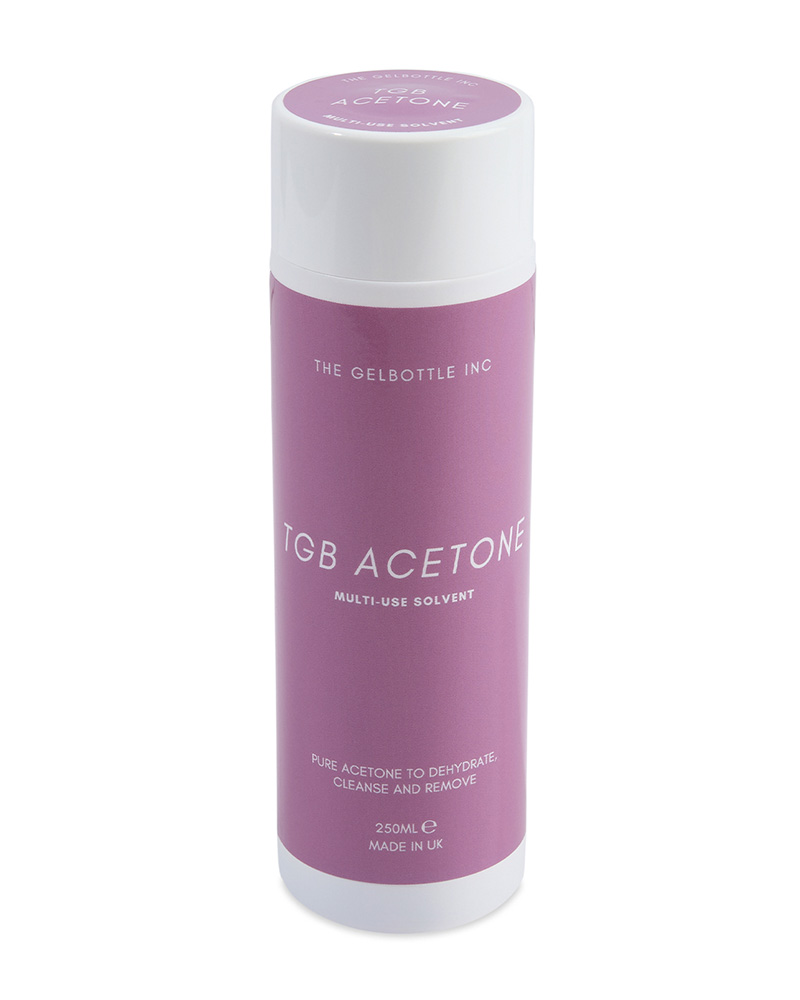
Proper nail preparation is key to a long-lasting finish! Start by gently filing the nail surface with a nail file to remove shine. Then, cleanse the nails with IPA or TGB Acetone to ensure they're ready for the gel application.
To learn more in-depth tips and master your nail prep skills, check out TGB Academy’s Perfect Prep Online Workshop.
Step 2: Apply Gel Base Coat
Take your 2-In-1 Base Coat and apply a thin layer over each nail, making sure to cap the free edge. Cure for 99 seconds on Low Heat Mode under the TGB Light The Way Nail Lamp for a perfect finish!We do not recommend the use of other lamps. If the customer experiences a ‘heat spike’, remove the nails from the lamp. Lost seconds must be regained using Low Heat Mode again. If you have used BIAB™ as your base colour you can skip this step.
Step 3: Apply Gel Colour Polish
Apply a thin layer of Chocolate onto one-third of the nail starting from the base of the nail plate. In the middle section apply Monogram (as illustrated in the video above). At the top third to the free edge of the nail apply a thin layer of African Sunset.
Step 4: Blend, Blend, Blend
Using your Ombré 01 Brush gently blend the three colours, using vertical strokes. This will help you achieve a gorgeous gradient effect.
Step 5: Apply Second Gel Colour Coat
Apply a second coat of each colour for an opaque look (this should be applied in the same area as the first layer). Use your Ombré 01 Brush to gently blend them, repeating the same vertical strokes as before. Cure for 60 seconds using the TGB Light The Way Nail Lamp.
Step 6: Apply Top Coat
To seal in your ombré design, apply a layer of Extreme Shine Top Coat and cure under the TGB Light The Way Nail Lamp for 60 seconds.
Step 7: Apply Chrome Pigment
Finally, apply Iced Chrome Pigment over the nail using your applicator to create chrome nails that are sure to stand out from the crowd. Apply another layer of Extreme Shine Top Coat and cure for 60 seconds under the TGB Light The Way Nail Lamp.
Halloween Nail Inspo
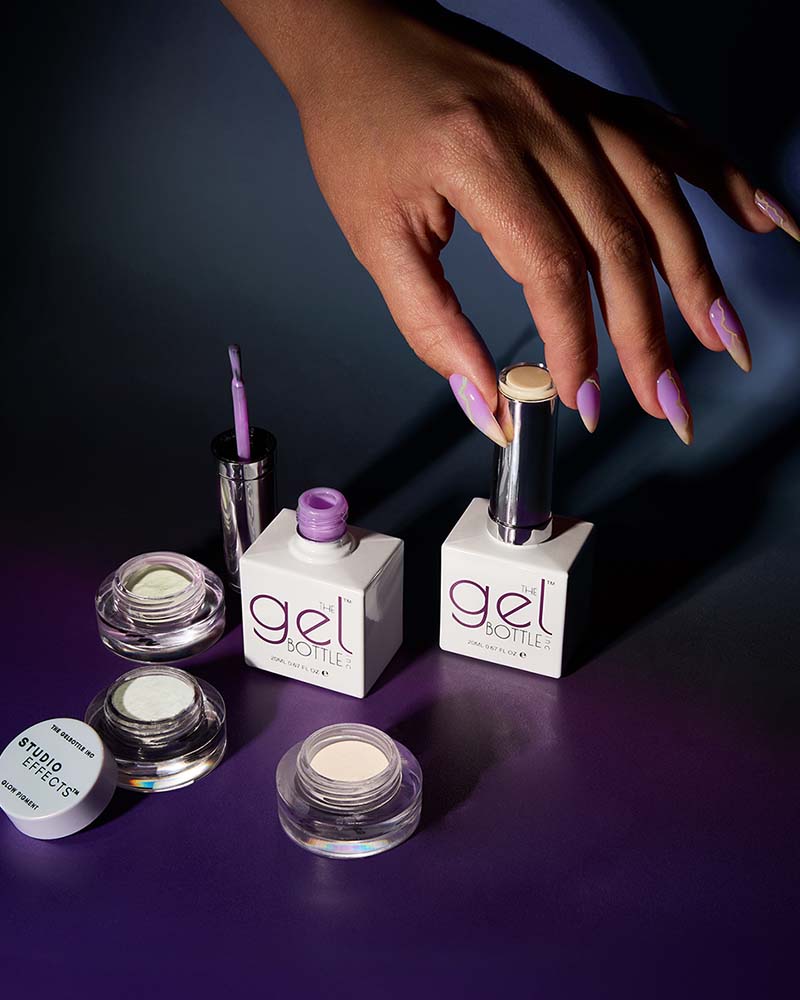
Now that you've perfected the classic technique for blended nails, it's time to offer your clients something extra special for Halloween. With the spooky season in full swing, ombré nails provide the perfect foundation for a hauntingly chic look. Elevate your seasonal nail art appointments with glow-in-the-dark nails that command attention.
What You’ll Need For Glow-In-The-Dark Ombré Tips
- 2-In-1 Base Coat (if using gel polish)
Start by following steps one and two from the first tutorial above.
Step 1: Apply Base Colour
For eye-catching BIAB™ nails with a cool, off-white blue hue then use Bella BIAB™ as your base colour. Or, if you're creating a full gel polish mani, choose Porcelain for a beautiful pale pastel blue, that would provide a similar finish. For Bella BIAB™cure under the TGB Light The Way Nail Lamp for 99 seconds, if using Porcelain cure for 60 seconds.
Step 2: Apply Top Coat
Apply a layer of ExtremeShine Top Coat, but do not cure.
Step 3: Apply Your Pigment
Take your StudioEffectsGlow Green Pigment from our brand-new Halloween collection and using your ProPrep tool, sugar it into the uncured topcoat layer. Cure for 60 seconds under the TGB Light The Way Nail Lamp
Be sure to dust off the excess using your TGB Dusting Brush or Duster Bit if using the TGB E-File. Not yet e-file trained? Want to save 30 minutes per appointment?* Book your place on the updated E-File Course Featuring ProBits today to get your qualification and speed up your appointments.
*On average, a standard gel polish appointment takes 35 minutes with an E-File, and 65 minutes without an E-File.
Step 4: Apply Top Coat
Apply a final layer of Extreme Shine Top Coat, to seal in your design and then cure for 60 seconds under the TGB Light The Way Nail Lamp.
Pro Tip: For a "sugared" effect, skip the top coat.
Ready to try your hand at even more nail art techniques? Explore TGB Academy’s range of Online Nail Art Workshops to elevate your skills and learn new nail designs when and where you want.
Don’t forget to tag us on Instagram and TikTok with your ombré creations.
Disclaimer: Please ensure that you have the necessary training and qualifications to apply gel nails. Not yet a pro? Not a problem! Share this post with your nail tech for your next nail consultation.
