HOW TO REMOVE CUTICLES — THE PROFESSIONAL WAY
THE ULTIMATE GUIDE WITH THE GELBOTTLE INC
When it comes to achieving that perfect manicure, there’s one step you can’t skip — cuticle prep. Removing cuticles is essential for creating that flawless foundation for a long-lasting manicure. But if you’ve ever tried to trim, nip, or remove cuticles, you know it’s an art in itself.
So, now's the time to learn how to remove cuticles safely and effectively (while avoiding damage or irritation).
Discover expert techniques, our recommended cuticle tools, and professional tips to master manicure and pedicure prep for your clients.
What Are Cuticles, and Why Do They Need Removing?
Cuticle is a thin layer of non-living skin cells on the nail fold, which protects the nail from infections. It’s a delicate area, requiring care when prepping. Cuticles are there for a reason, but excess cuticle growth can often look untidy and make applying polish or gel harder. Overgrown cuticles can even cause painful hangnails.
By removing the excess cuticle, you’ll get a cleaner, smoother nail surface and also achieve a longer-lasting manicure. It helps products adhere better, prevents lifting, and, ultimately, leaves nails looking professionally polished.
Our Step-by-Step Guide to Cuticle Removal
There are a few ways to remove cuticles safely, using different tools and techniques.
Manual Tools:
Whether you're a beginner or an experienced tech, manual tools offer more control.You’ll only need ProPrep and ProNip, making it ideal for a tech that doesn’t have a nearby power source or has limited space or budget.
Step 1: Apply Cuticle Remover
Apply a small amount of CuticleRemover to the cuticle area on each nail. Then let it sit for 1–2 minutes to soften the cuticle.
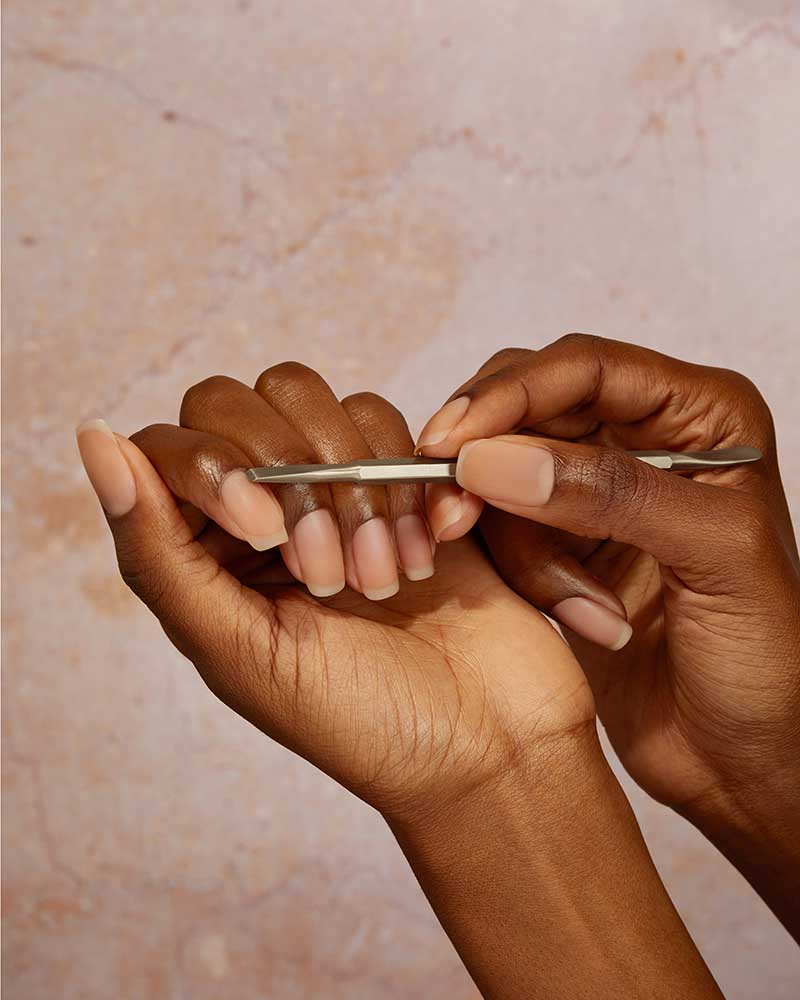
Step 2: Push Cuticles with the ProPrep Cuticle Pusher Tool
Using your ProPrep pusher, gently push back the cuticles.Keeping your tool flat to the nail plate, gently lift the cuticle without pressing too hard on the nail (as this can cause damage to the nail plate).
Step 3: Trim with ProNip Cuticle Nippers
Carefully use ProNip cuticle nippers to remove any lifted or non-living skin cells. Make sure to nip only the non-living skin cells and avoid live tissue to prevent discomfort or injury.
Step 4:Buff with 100/180 Nail Buffer
Lightly buff the nail plate with a 100/180 NailBuffer.This step smooths the surface, preps the nail plate, and removes any lingering cuticle remnants.
Step 5: Prep with TGB Acetone
Finally, use TGB Acetone to remove any dirt from the nail plate and to prep for product application.
E-File Tools:
This technique is for techs trained to use an E-File, to ensure you are working safely and offer professional results. Here are some key reasons why you should train before using an E-file.
- E-Files are powerful tools that, when used improperly, can cause burns, cuts, over-thinning of the nail plate, and damage to the natural nail. Training teaches proper speed, angle, and pressure techniques to avoid any harm.
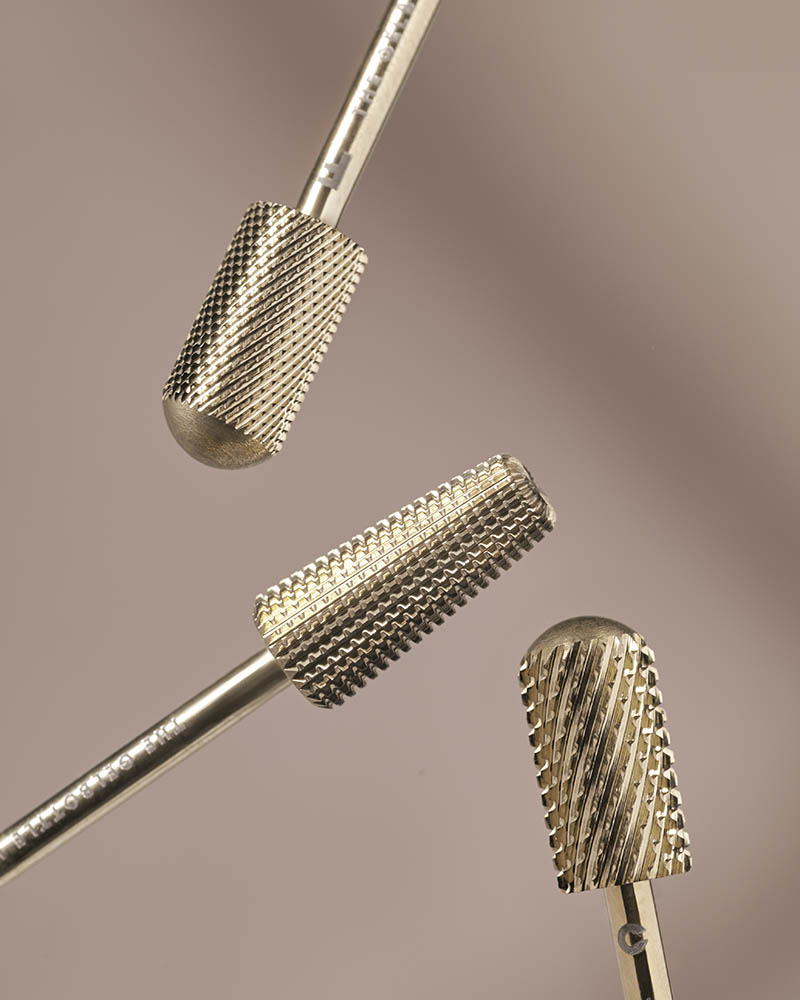
- E-Files come with a range of bits for specific purposes, like lifting cuticles, refining product, or smoothing the nail. Training helps nail techs learn how to choose the correct bit for each step, set it to the right speed, and avoid excessive friction that could cause discomfort or injury.
- Proper E-File training helps techs achieve flawless cuticle work and smooth surfaces, difficult to achieve with manual tools alone.Check out our TGB Academy E-file Course Featuring ProBits to learn more.
Step 1:Cuticle Remover Bit
With your E-File set to a low speed, use the Cuticle Remover Bit to lift and loosen the non-living skin cells.Gently work around the cuticle area without pressing too firmly.
Step 2:Cuticle Lifter Bit
Use the Cuticle Lifter Bit to carefully remove dead skin from the nail plate.Guide the bit lightly around the cuticle area to remove any remaining cuticle tissue on the nail.
Step 3: ProNip
Use ProNip to nip away any lifted or non-living skin cells (cuticle). Take care only to nip dead skin and avoid live tissue.
Step 4:Cuticle Smoother Bit
Use the Cuticle Smoother Bit to buff and smooth the skin around the cuticle area, giving a flawless finish.
Step 5: 100/180 Nail Buffer
Lightly buff the nail plate with a 100/180 NailBuffer to prep for product application.This step smooths the surface, preps the nail plate, and removes any lingering cuticle remnants.
Step 6: TGB Acetone
Use TGB Acetone to prep the nail plate before product application.
Aftercare: Keep Cuticles Looking Great
Always encourage your clients to keep nails hydrated and healthy. This is key to ensuring long-lasting results and preventing dryness. Here’s how to maintain that fresh look between manicures:
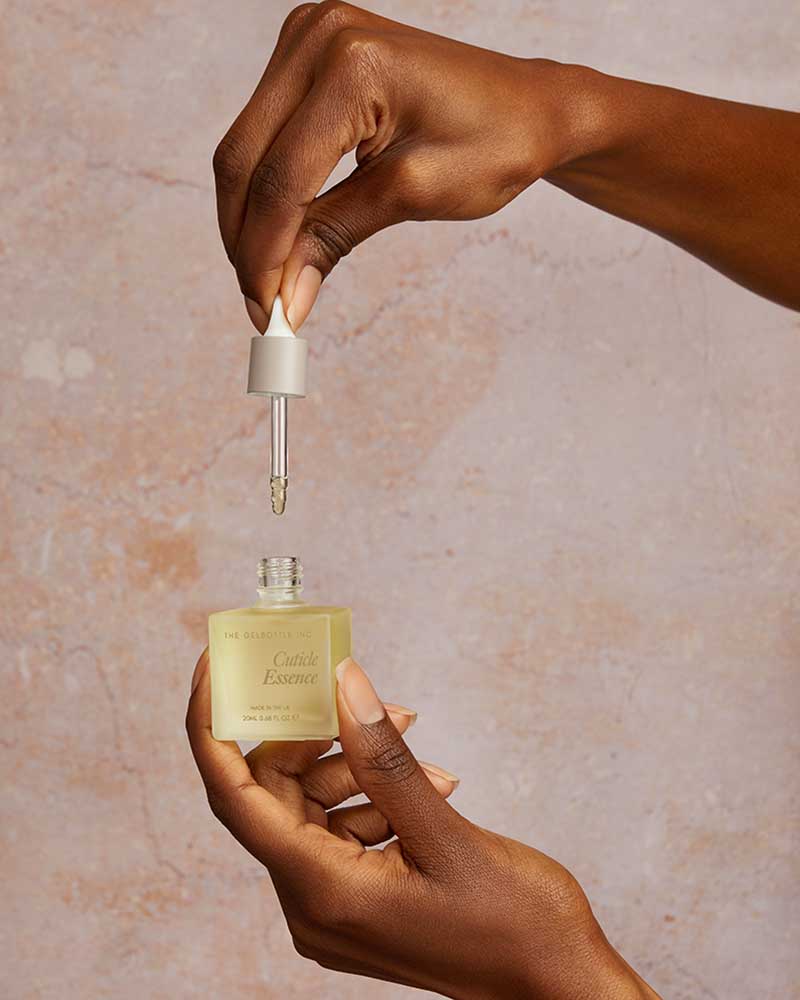
- Apply Cuticle Essence daily. Massage our nourishing Cuticle Essence into your nails and cuticles every day to keep the skin supple and prevent it from hardening or peeling.
- Moisturise regularly. Keeping hands hydrated with our H2O Cream™. This can also help prevent cuticles from becoming dry or overgrown.
- Avoid harsh chemicals.Encourage clients to protect hands from chemicals. And as a tech, invest in ProTech Gloves to help protect your own nails and cuticles from drying out.
Why Choose TheGelBottle Inc for Your Cuticle Care?
All our tools are crafted with care, using high-quality materials to ensure the best results and long-lasting durability. The GelBottle Inc is here to make sure you’re fully equipped for a flawless manicure, every time.
Ready to perfect your nail routine? Start your journey to flawless nails by exploring our full range of cuticle care products, training courses and take your manicure game to the next level.


